
Looking for a creative and simple nature craft that kids will love? Pressed flower bookmarks are the perfect blend of outdoor adventure, art, and hands-on learning. Whether you’re crafting with your kids at home, planning a classroom activity, or just want a thoughtful handmade gift idea, these DIY bookmarks are a lovely way to bring nature indoors.
In this post, we’ll walk you through step-by-step instructions on how to create your own pressed flower bookmarks using items you likely already have around the house. Let’s get crafting!
Affiliate Disclosure: This post may contain affiliate links. If you purchase through these links, I may earn a small commission at no extra cost to you. I only recommend products and services I genuinely believe in and think will be valuable to my readers. Thank you for supporting Adventure Ready Families!
Why Make Pressed Flower Bookmarks?
Nature crafts are a wonderful way to encourage kids to explore the outdoors and develop an appreciation for nature. Combining being outdoors and creativity is a wonderful way to engage children in a fun activity while encouraging learning. Pressed flower bookmarks are:
- Easy and inexpensive to make
- A great project for kids of all ages
- Perfect for seasonal gifts (Mother’s Day, teacher appreciation, or just because!)
- A beautiful way to preserve flowers collected on nature walks
Materials You’ll Need
Making your own pressed flower bookmarks is a simple, fun activity that requires few supplies & a little planning. You will need the following:
- Fresh flowers & leaves (small, thin, flat ones work best)
- Parchment paper or paper towels
- Heavy books & weights (or something heavy)
- Acrylic bookmarks
- Mod podge
- Scissors
- Small Paint Brush
Step-by-Step Instructions for Pressed Flower Bookmarks
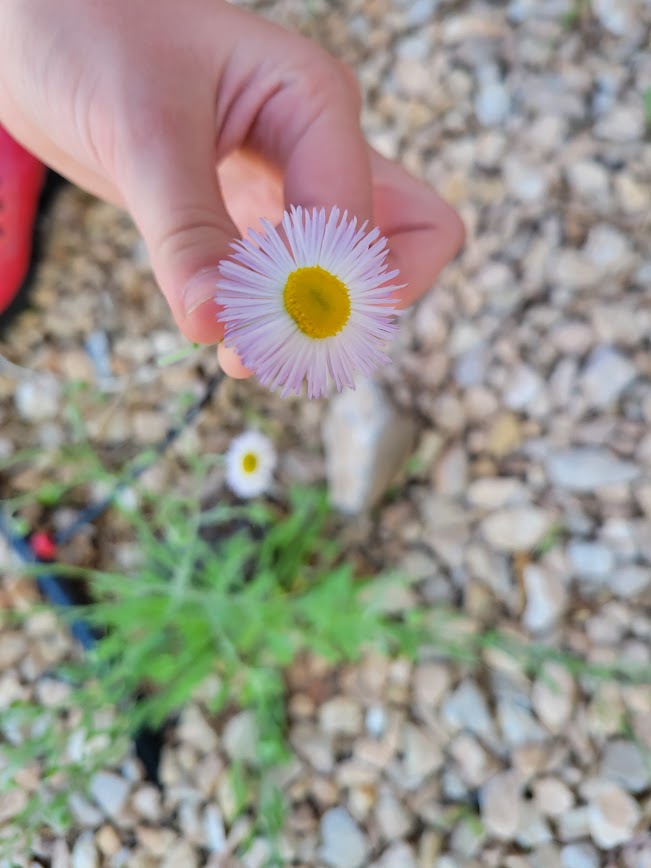
Go on a Nature Walk
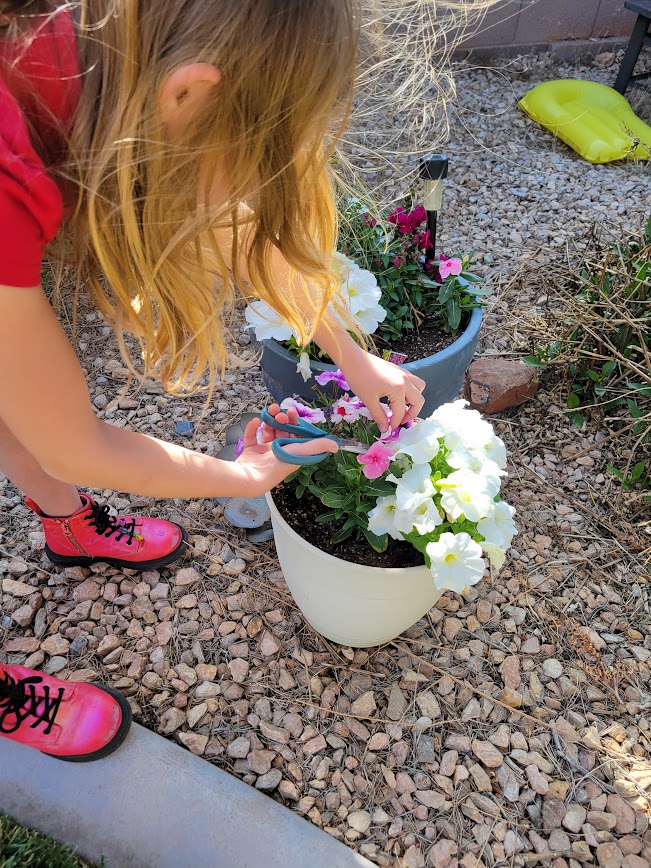
Head outdoors with a basket or bag with your kids and collect flowers and leaves. This is a great opportunity to talk about plant names, colors, and shapes. Look for small, flat flowers such as daisies, clover, fern fronds, and pansies–These press the best.
Press the Flowers
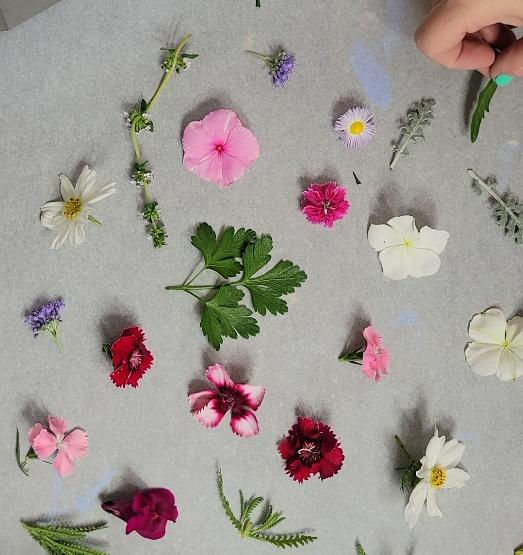
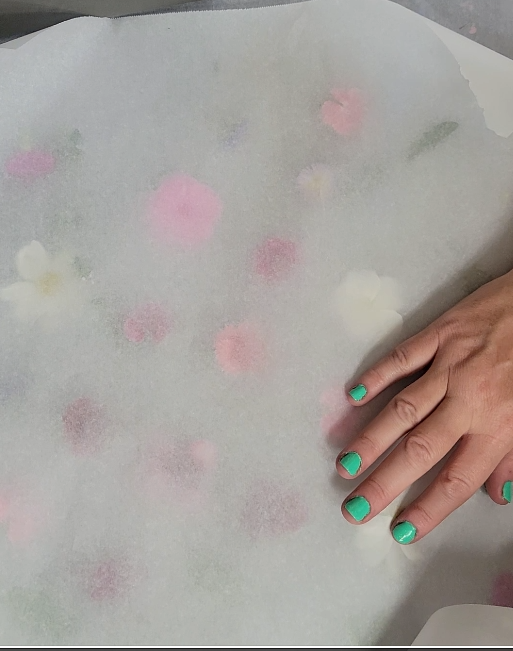
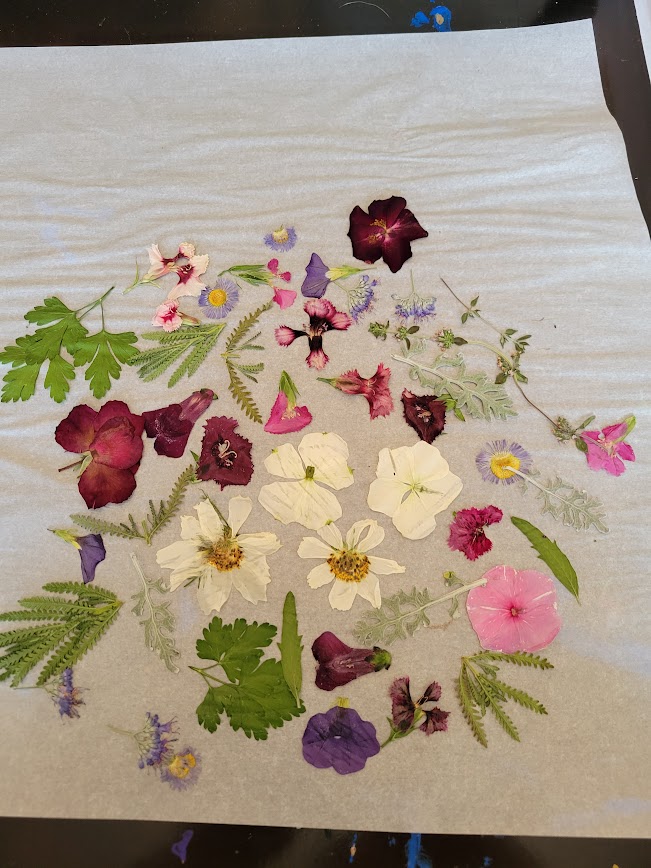
On a piece of parchment paper or paper towel, lay out the flowers/leaves with enough space around them to spread. Carefully cover them with another paper towel or parchment paper and place a heavy book on top. I added a dumbbell to ensure they were getting flattened out.
Let that sit for at least 2 days (longer is better).
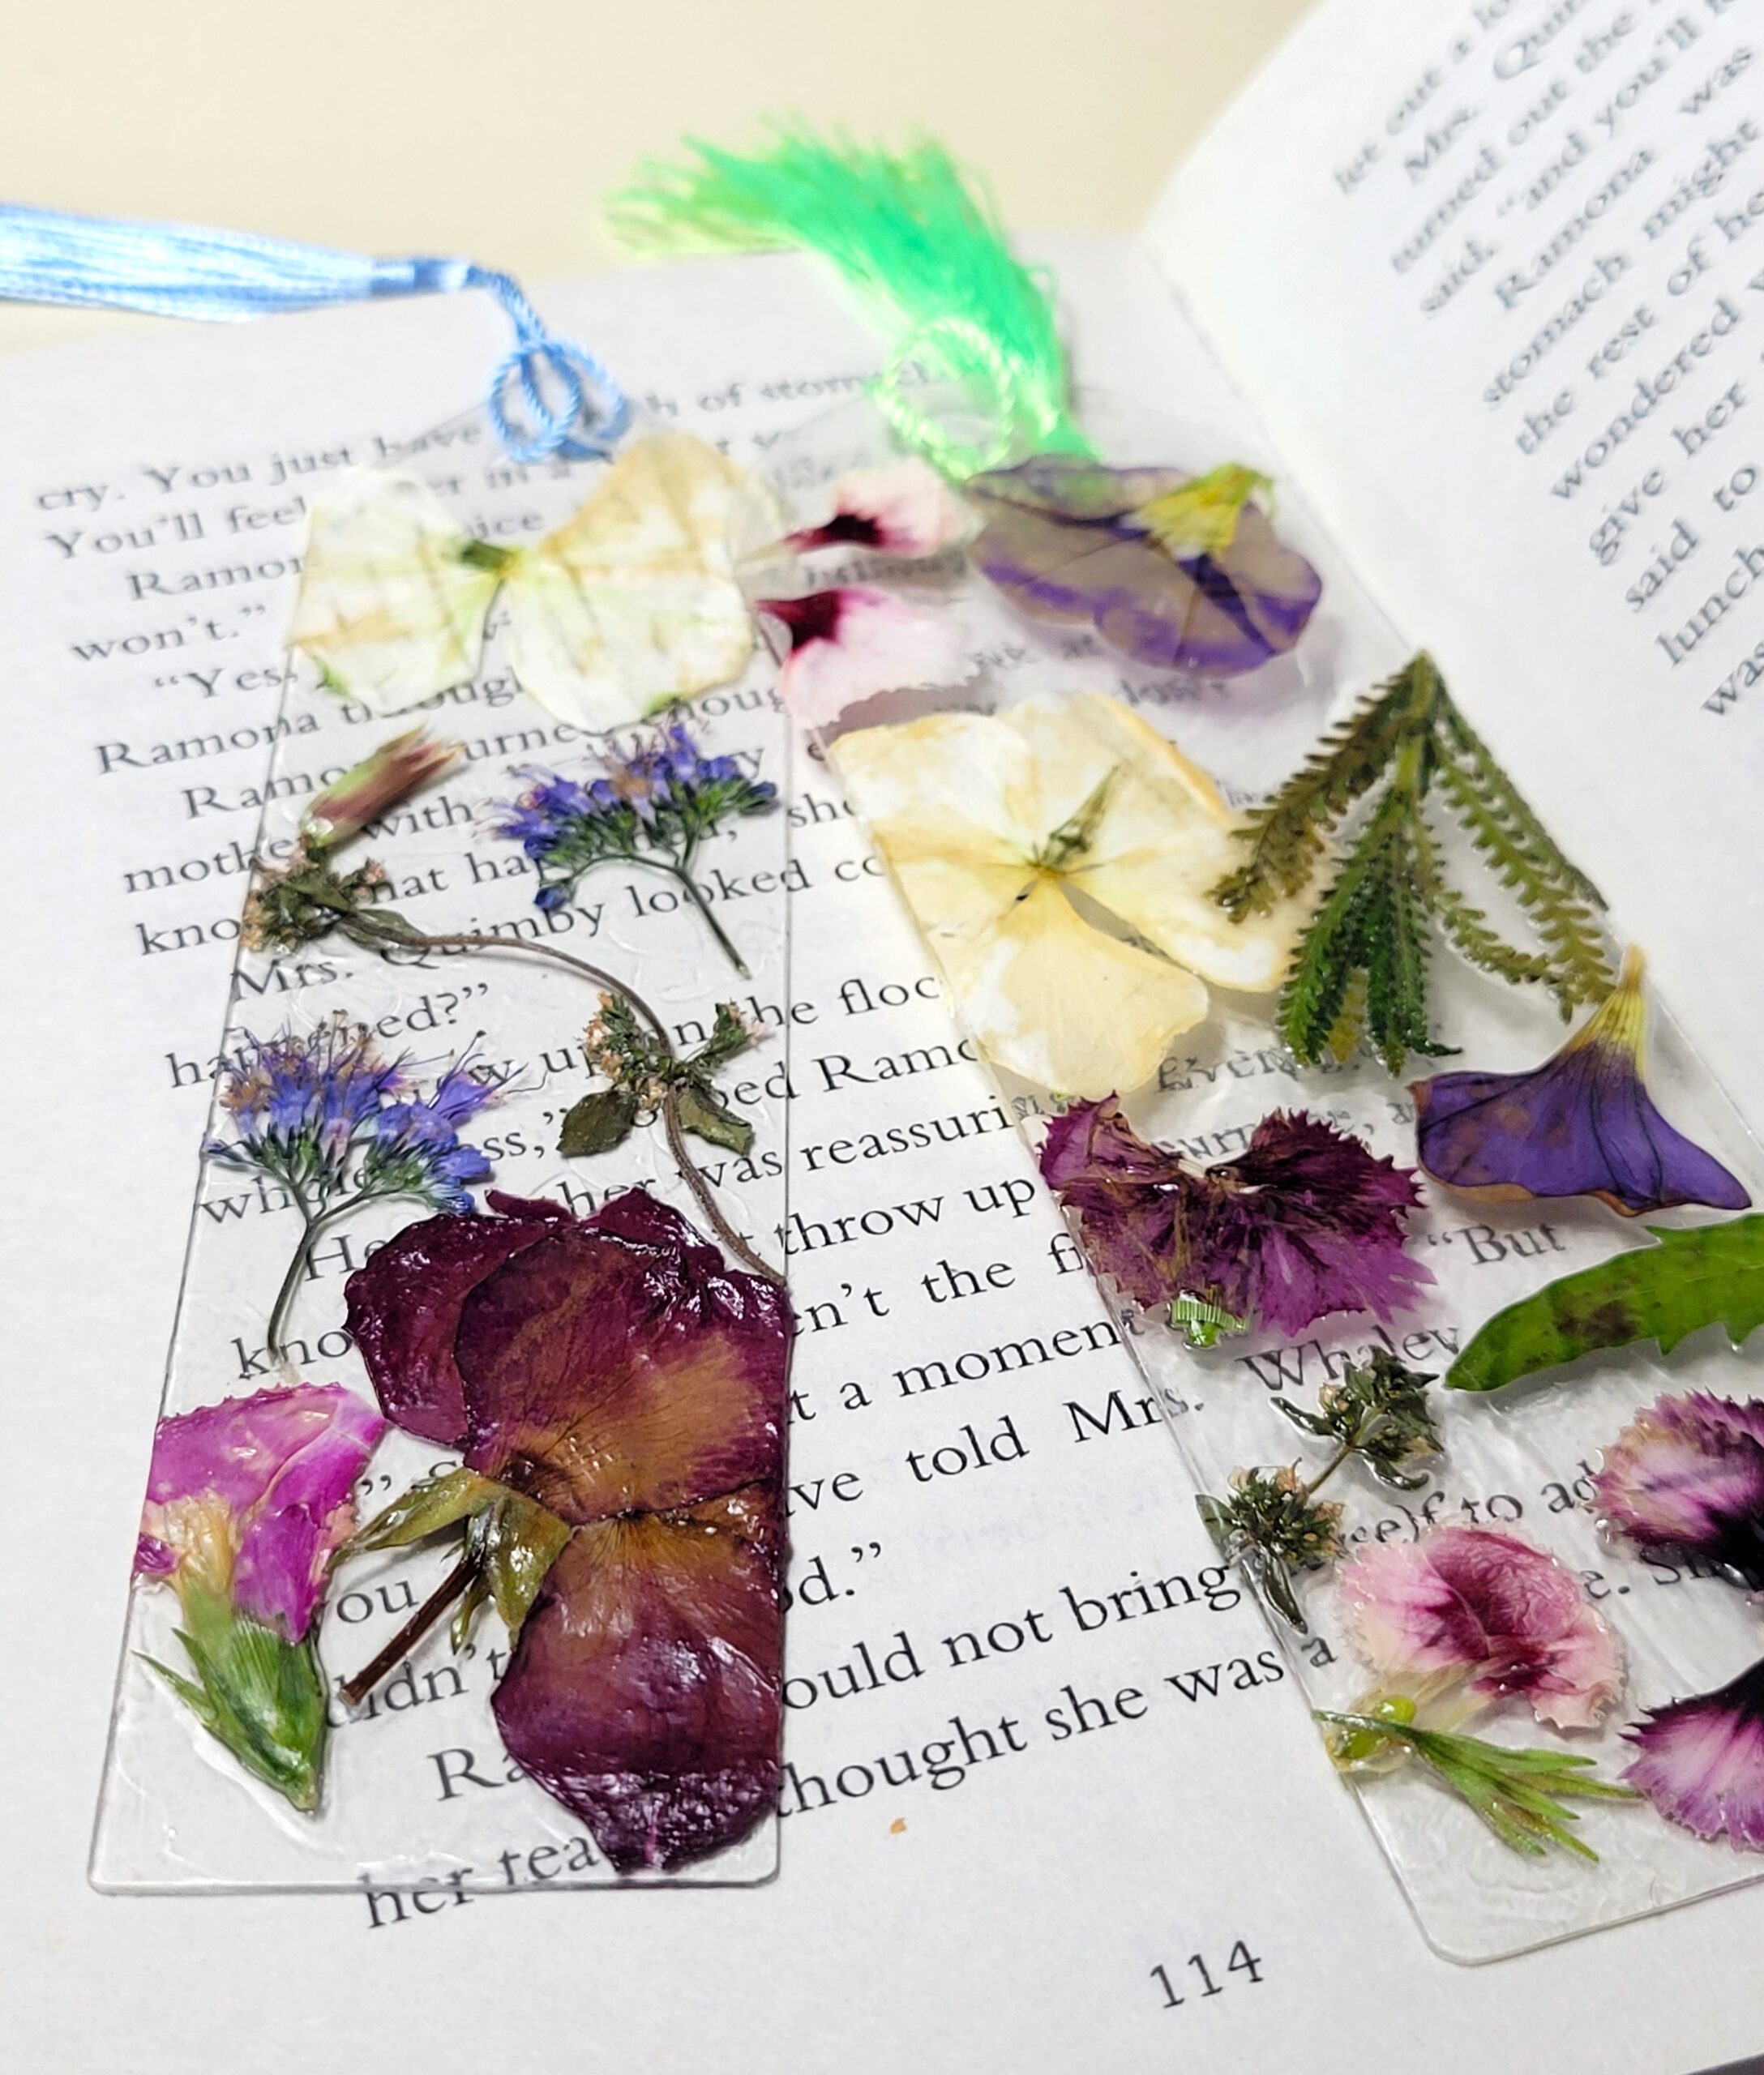
Design Your Bookmark
Get out the Acrylic bookmarks (make sure to remove the plastic covering on each bookmark before use), paint brush, and Mod Podge, and start designing!
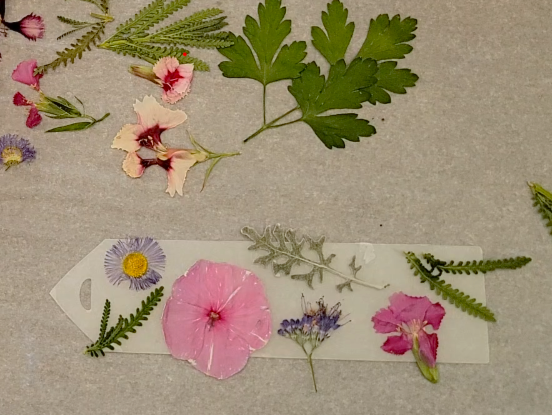
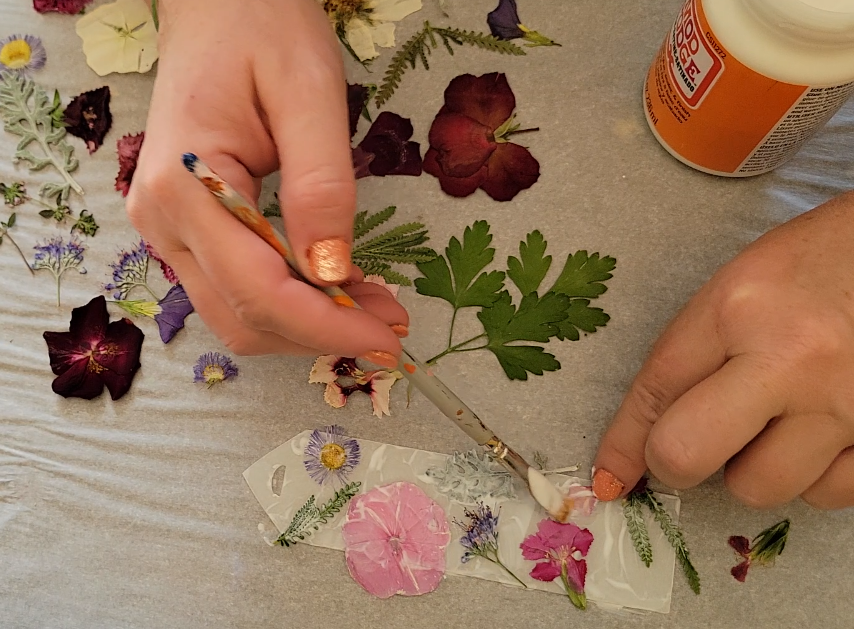
Uncover your flowers and lay out the design you want on each bookmark. Take off the flowers and cover your bookmark with Mod Podge. Then place the flowers back on and gently paint the flowers and the bookmark with a layer of Mod Podge. Let that dry for about 20-30 minutes. After that layer has dried, trim the edges, and apply a second layer of Mod Podge, going around the edges this time.
Add any ribbon or tassels once the second layer has dried, and you are all done!
I got the original instructions and idea to use the acrylic bookmarks from this creator here: https://www.entertainidea.com/home/diy-pressed-flower-bookmarks
Alternative Way to Make Pressed Flower Bookmarks
If you don’t have the acrylic bookmarks or don’t want to buy them, you can use contact paper or laminate sheets, and cardstock instead. The process is the same, but you will put the flowers on a cut-out piece of cardstock, and you will seal it either with contact paper or a laminate sheet.
Tips for Success
-Avoid thick, juicy flowers like roses—they don’t press well.
-Let kids experiment with patterns: symmetrical designs, color gradients, or flower “faces.”
-Encourage kids to make a batch of bookmarks to give as gifts (this is a great Mother’s Day gift, or teacher gift) or trade with friends.
-Don’t overcrowd the bookmark with too many items. You can layer items, just make sure you are fully saturating the bottom and the top of each layer to ensure the item sticks to the bookmark properly.
Turn It Into a Learning Moment
This craft isn’t just about being creative–it’s a great way to incorporate learning. You can talk about:
Plant anatomy: Explore petals, stems, and leaves up close.
Seasonal changes: Use this craft as a seasonal activity (spring flowers, fall leaves, etc.).
Mindfulness and observation: Slow down and appreciate nature’s small details.
Have Fun with Nature!
Pressed flower bookmarks are more than just a cute craft–they’re a memory preserved between pages. Whether you make them during a sunny afternoon or a rainy day indoors, this nature-inspired activity is sure to become a family favorite.
Have you tried this craft? We’d love to see your creations! Tag us on social media @adventure_ready_families or share your kids’ favorite flowers to press. Looking for more ways to get your kids outdoors? Check out this post about how to create an outdoor kid, or 25 unforgettable and cheap outdoor activities.